

Onboarding Guide
AutoFund Accounting · fund accounting on QuickBooks
Getting set up, step by step
Last updated October 2026
Welcome & what you need
QuickBooks has no built-in fund accounting — it posts every dollar of net income into a single equity account. But your organization needs each restricted or designated fund's share of that net income to land in its own fund-balance account every month. That's what AutoFund Accounting does: it reads your QuickBooks Profit & Loss by class, matches each fund's equity account to its class, and produces one balanced journal entry each month that moves each fund's activity out of the general (equalizer) account and into its own. You review the entry and post it back to QuickBooks with one click.
What you'll need
- A QuickBooks company that supports classes. Fund tracking requires class tracking (or an equivalent dimension) in your accounting system.
- Your funds tracked in QuickBooks as classes, and a fund-balance equity account for each.
- A few minutes to connect QuickBooks and map your funds — you only do this once.
Setting up your account
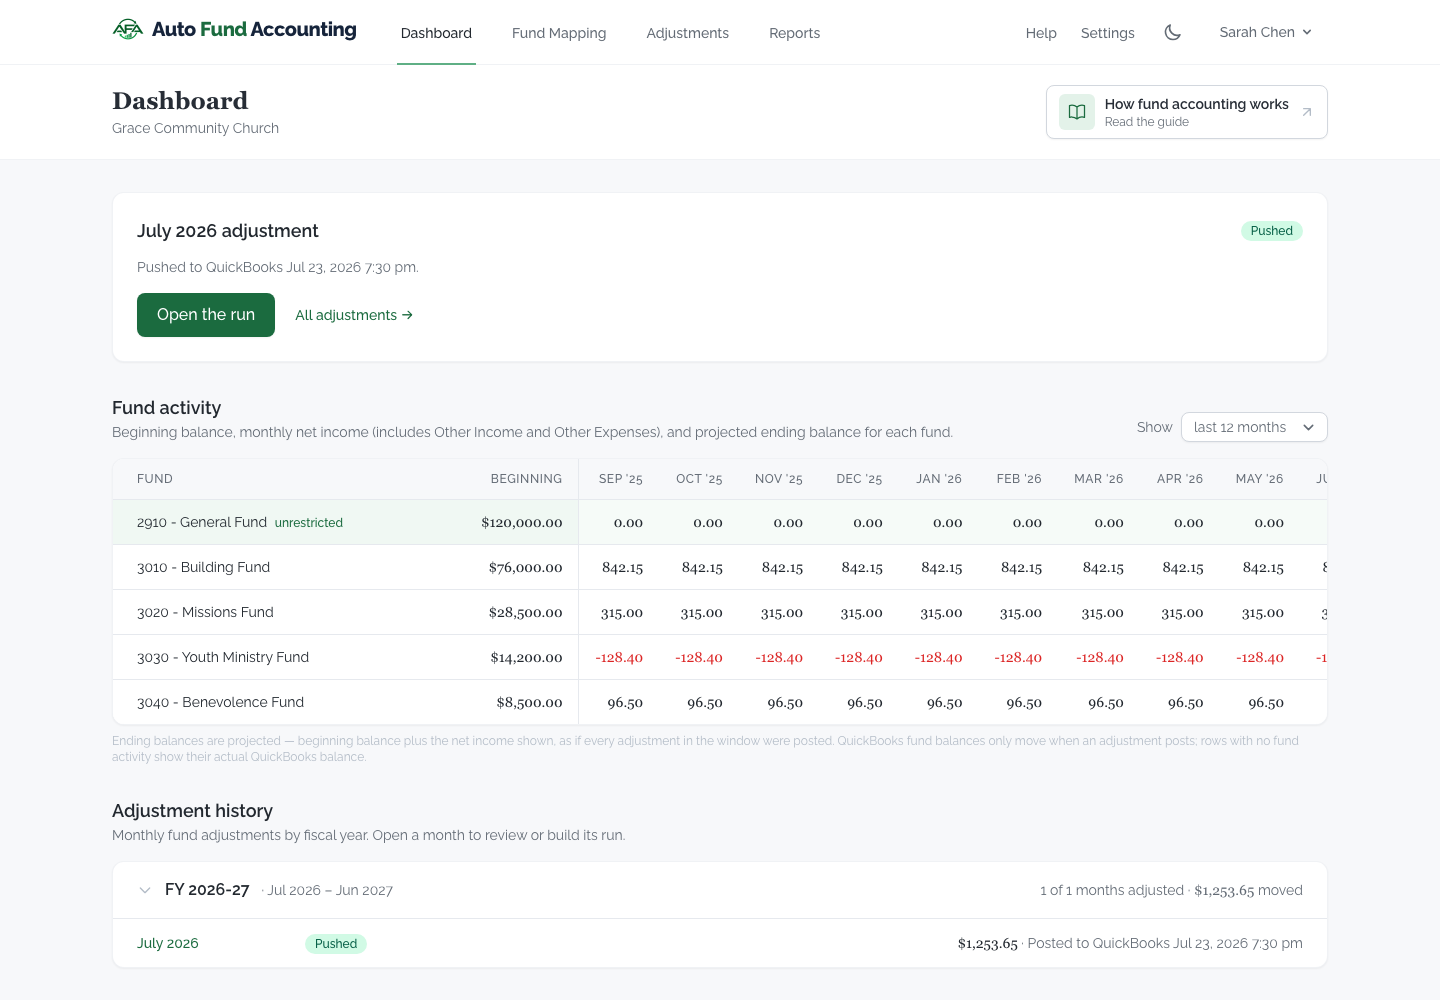
Start by registering at the sign-up page with your name, email, and a password. This creates your organization and makes you its owner.
Verify your email
Registration queues a signed verification link, which must be opened by the signed-in account before it expires. Outbound email is not yet release-certified, so resend and password-recovery delivery must not be treated as reliable until the current release notice confirms certification.
Additional users
Once your organization exists, an Administrator invites teammates from the Members page in Settings by email address and chooses the role each one holds. AutoFund emails the invitation; the recipient opens the link, sets their own name and password, and joins already verified, so there is never a reason to share a login. The role model is still under review — Roles & access in the user guide records what each role can do today.
Choosing a plan
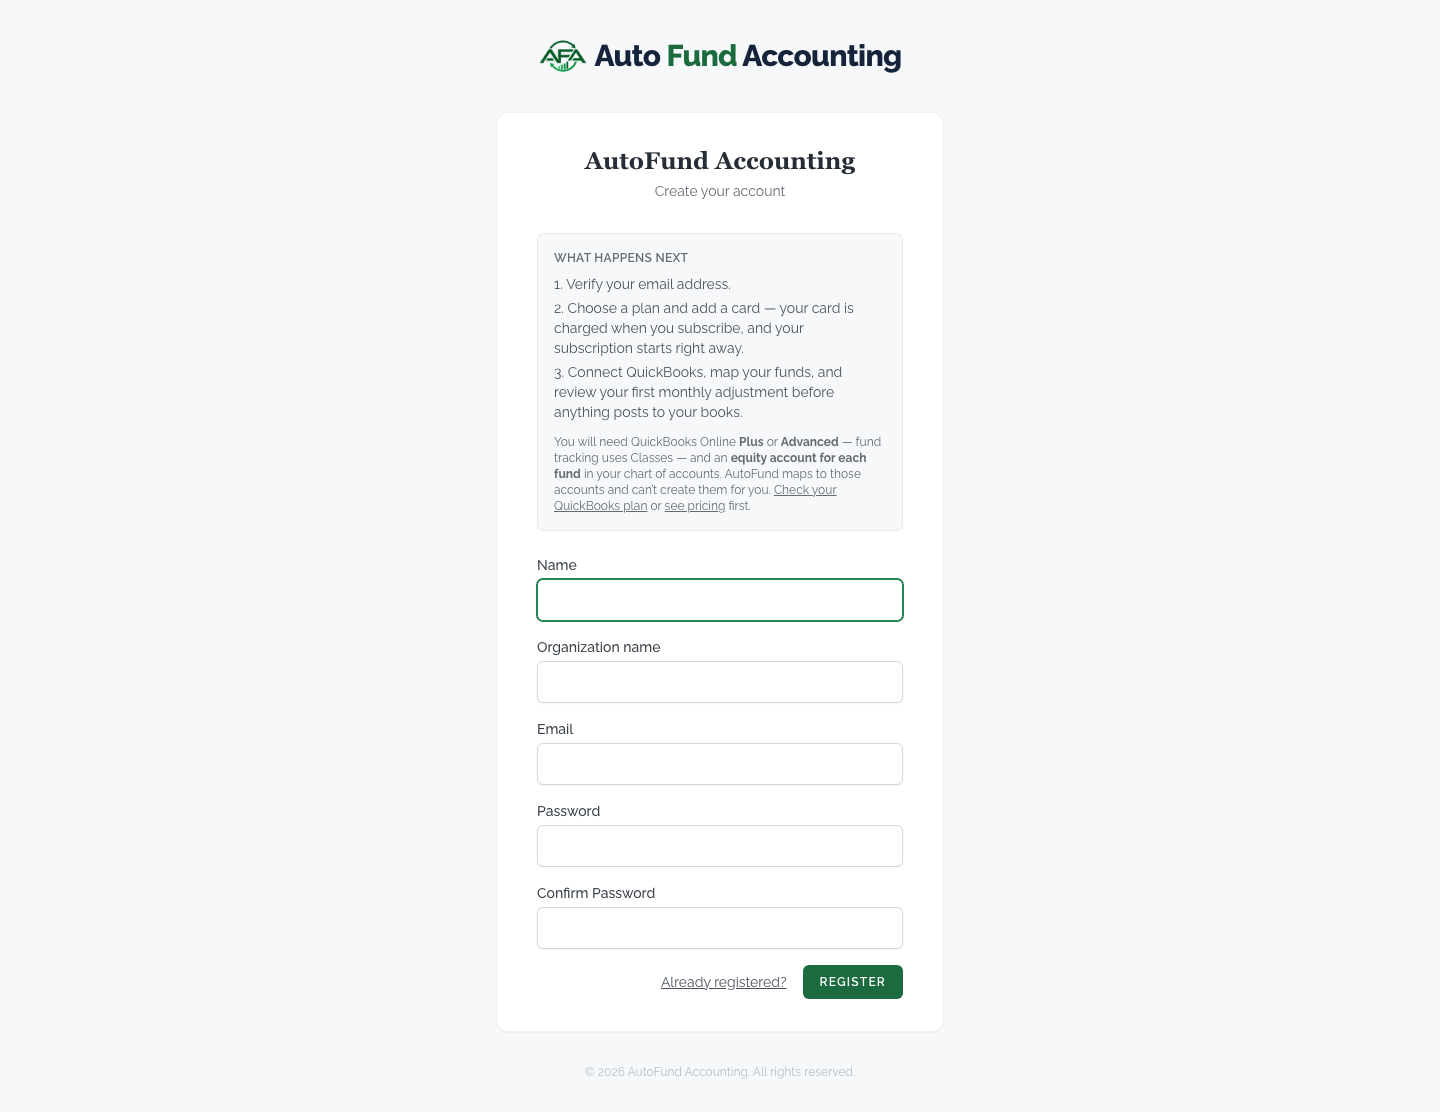
After verifying your email, you'll choose a plan. AutoFund is $30 per month or $299 per year (about two months free on the annual plan). There's no free trial — your card is charged when you check out — and you can switch between monthly and annual at any time from Billing.
Checking out
Payment is handled by Stripe, so your card details go straight to Stripe and never touch our servers. Pick a plan, enter your card on Stripe's secure checkout, and you'll be brought right back into the app to begin setup owner only.
Step 1 — Organization
The onboarding wizard walks you through the one-time setup in 5 steps, and this chapter has one section per step — step 1 here is step 1 in the wizard. You can leave and come back: the wizard resumes at the first step you haven't finished.
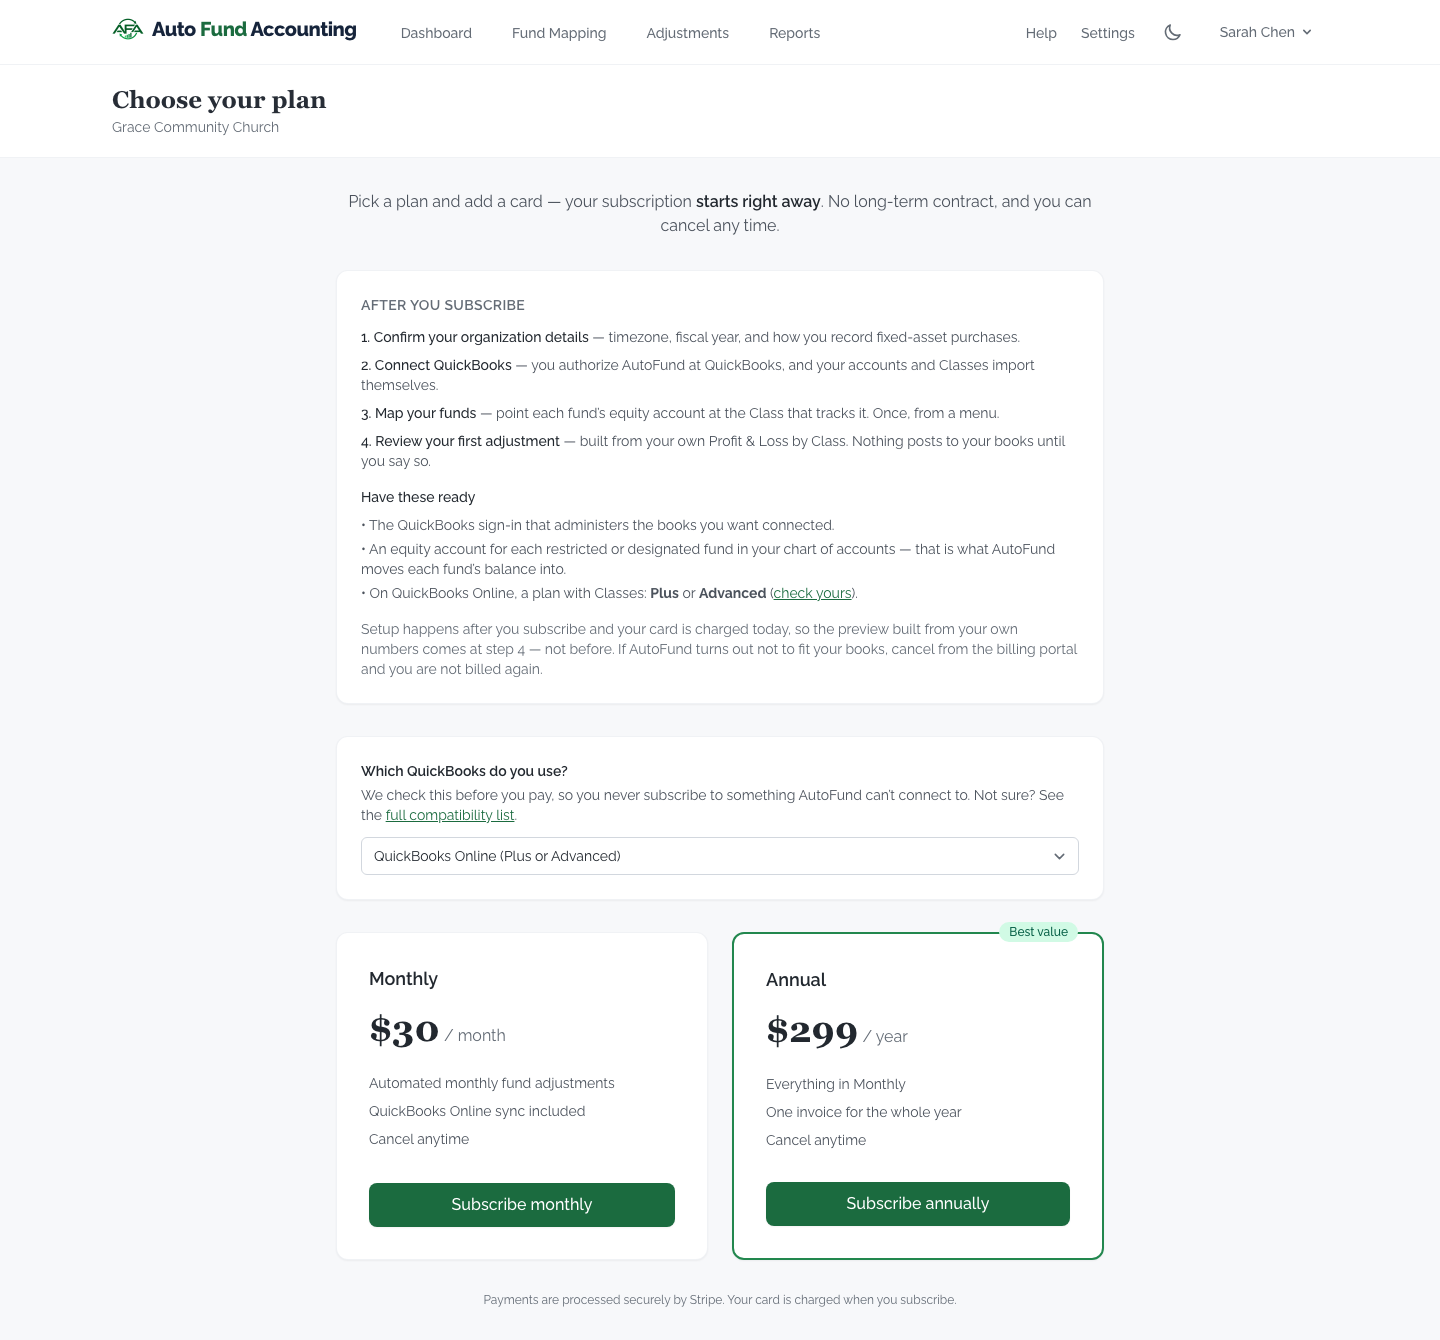
Confirm your organization's name and set your time zone and the month your fiscal year begins (both affect how months and balances are reported). You'll also answer one accounting question owner only:
- Do you depreciate fixed assets, or expense them? If your organization capitalizes and depreciates large purchases, AutoFund shows a Capital purchases input on each monthly adjustment so those transfers move with the fund. If you expense purchases instead, that input is hidden to keep the adjustment screen simple. You can change this later in Settings.
Step 2 — Connect QuickBooks
AutoFund works by reading your QuickBooks company. If you haven't already connected it, you'll do it here — or from Settings at any time: choose Connect QuickBooks Administrator or Supervisor and follow the steps shown. AutoFund reads your chart of accounts, classes, and Profit & Loss by class report, and writes the monthly fund-balance adjustment as a journal entry you approve.
Access is granted when you connect your accounting system, and you can withdraw it at any time.
The wizard then waits while your chart of accounts and classes sync, and advances to the next step on its own the moment both have landed. Nothing to reload, nothing to click.
What we read
- Your chart of accounts — so you can pick each fund's equity account.
- Your classes — the funds themselves.
- Your Profit & Loss by Class report each month — the numbers behind every adjustment.
We only ever read your books to build an adjustment. Nothing is written back to QuickBooks until you review an entry and choose to post it.
Disconnecting and reconnecting
You can disconnect QuickBooks at any time from Settings Administrator or Supervisor. Administrators and Supervisors can perform this action. Associates have read-only access to these financial controls.
Reconnecting the same QuickBooks company preserves your fund mapping. Connecting a different company clears the previous imported chart and its fund mappings. Sync the new company's chart, choose its equalizer account, and review its fund mapping before posting. This cleanup does not delete either company's QuickBooks books.
Step 3 — Map funds
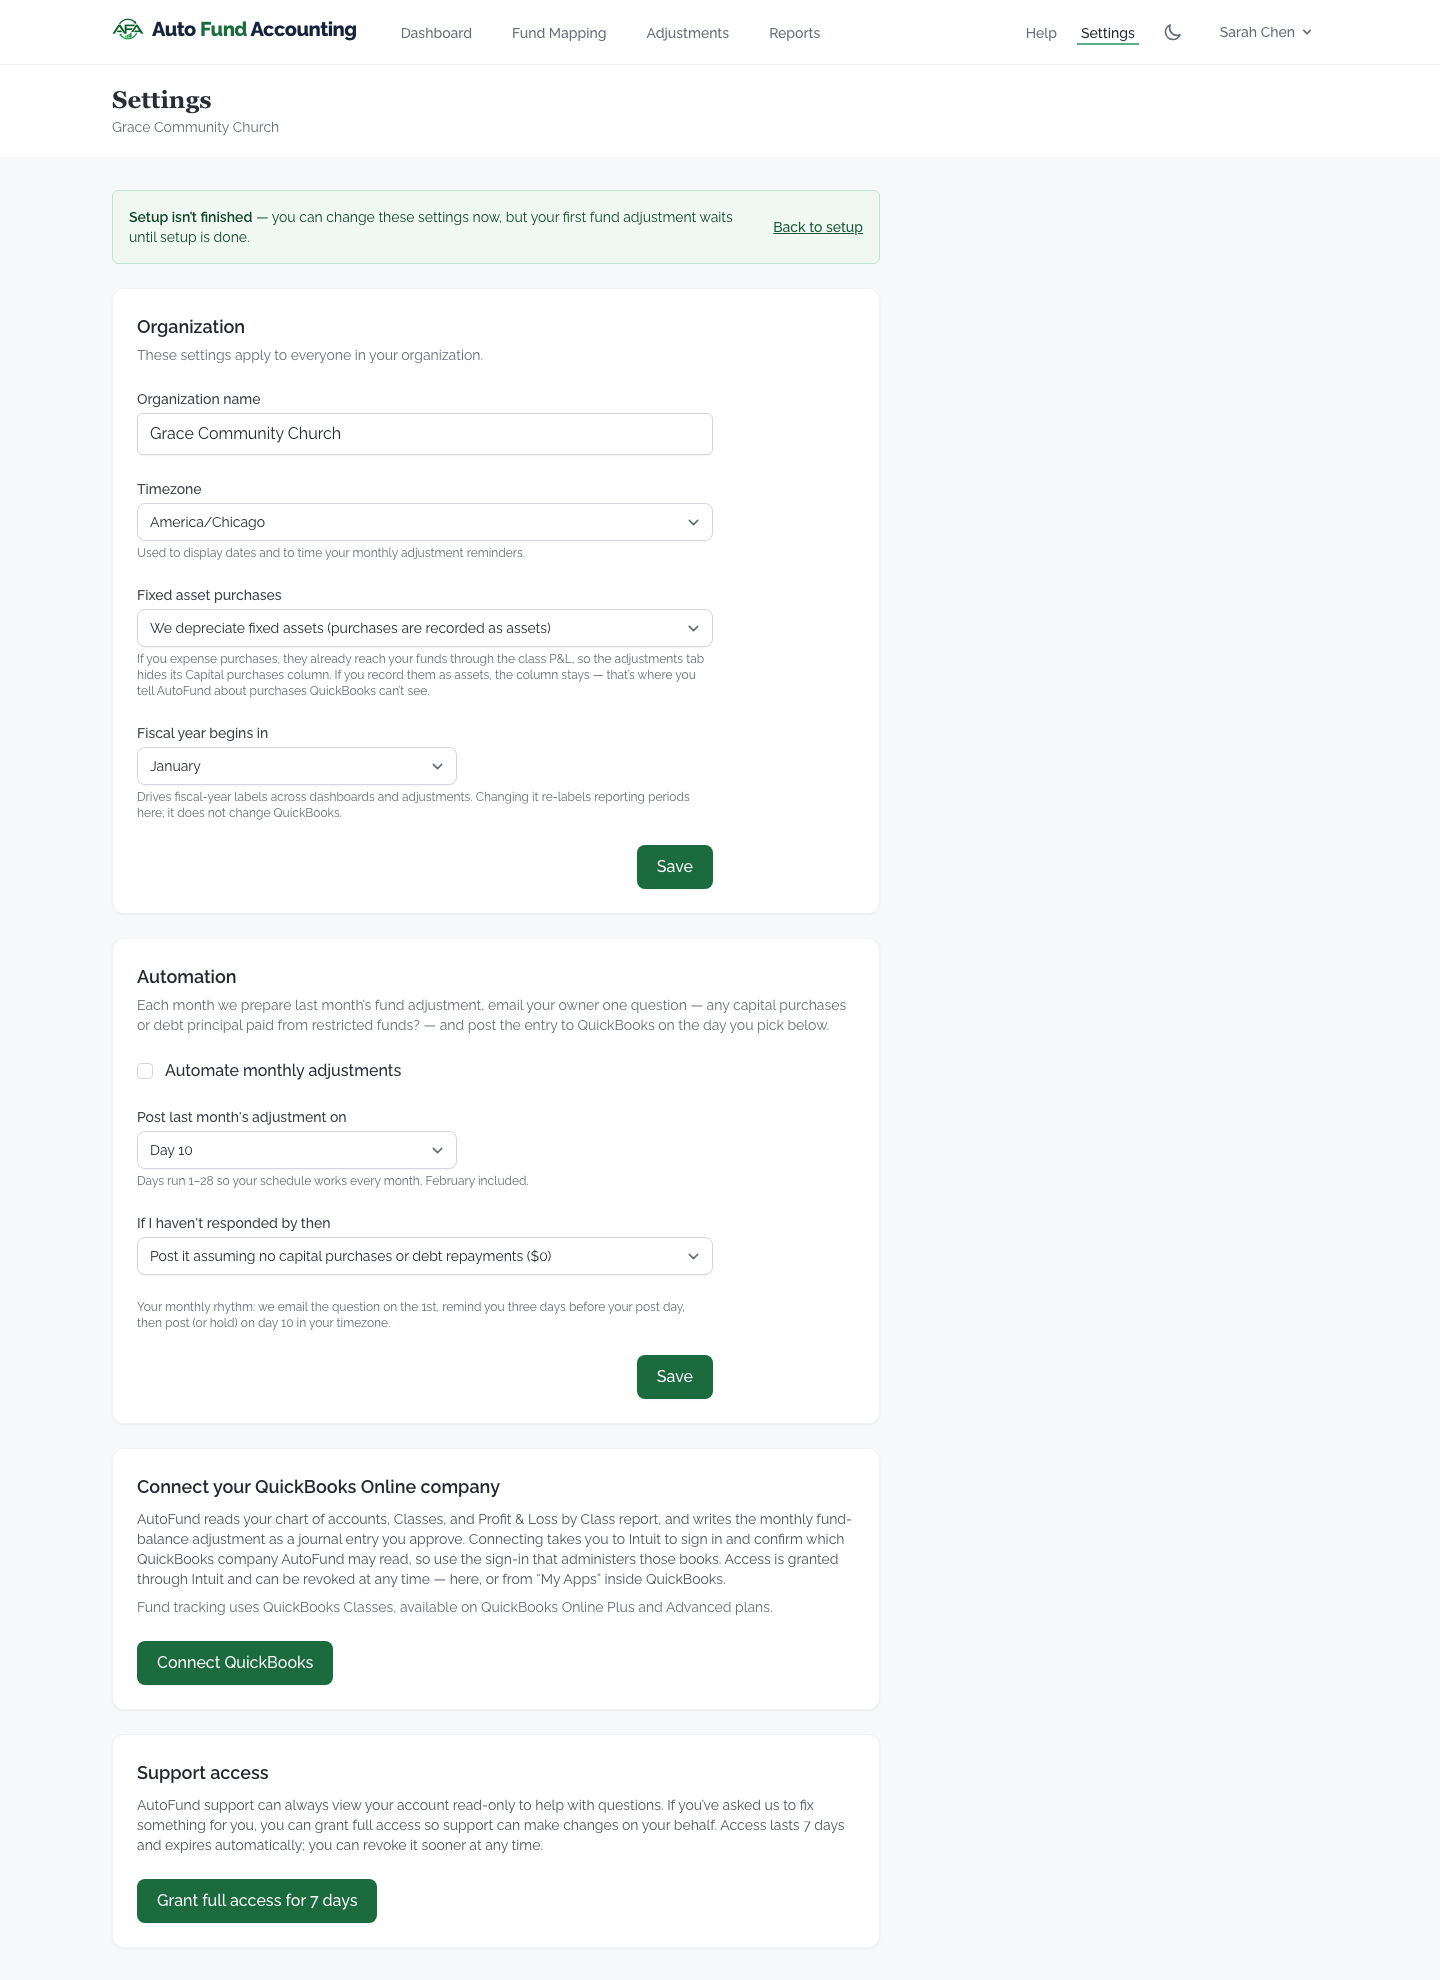
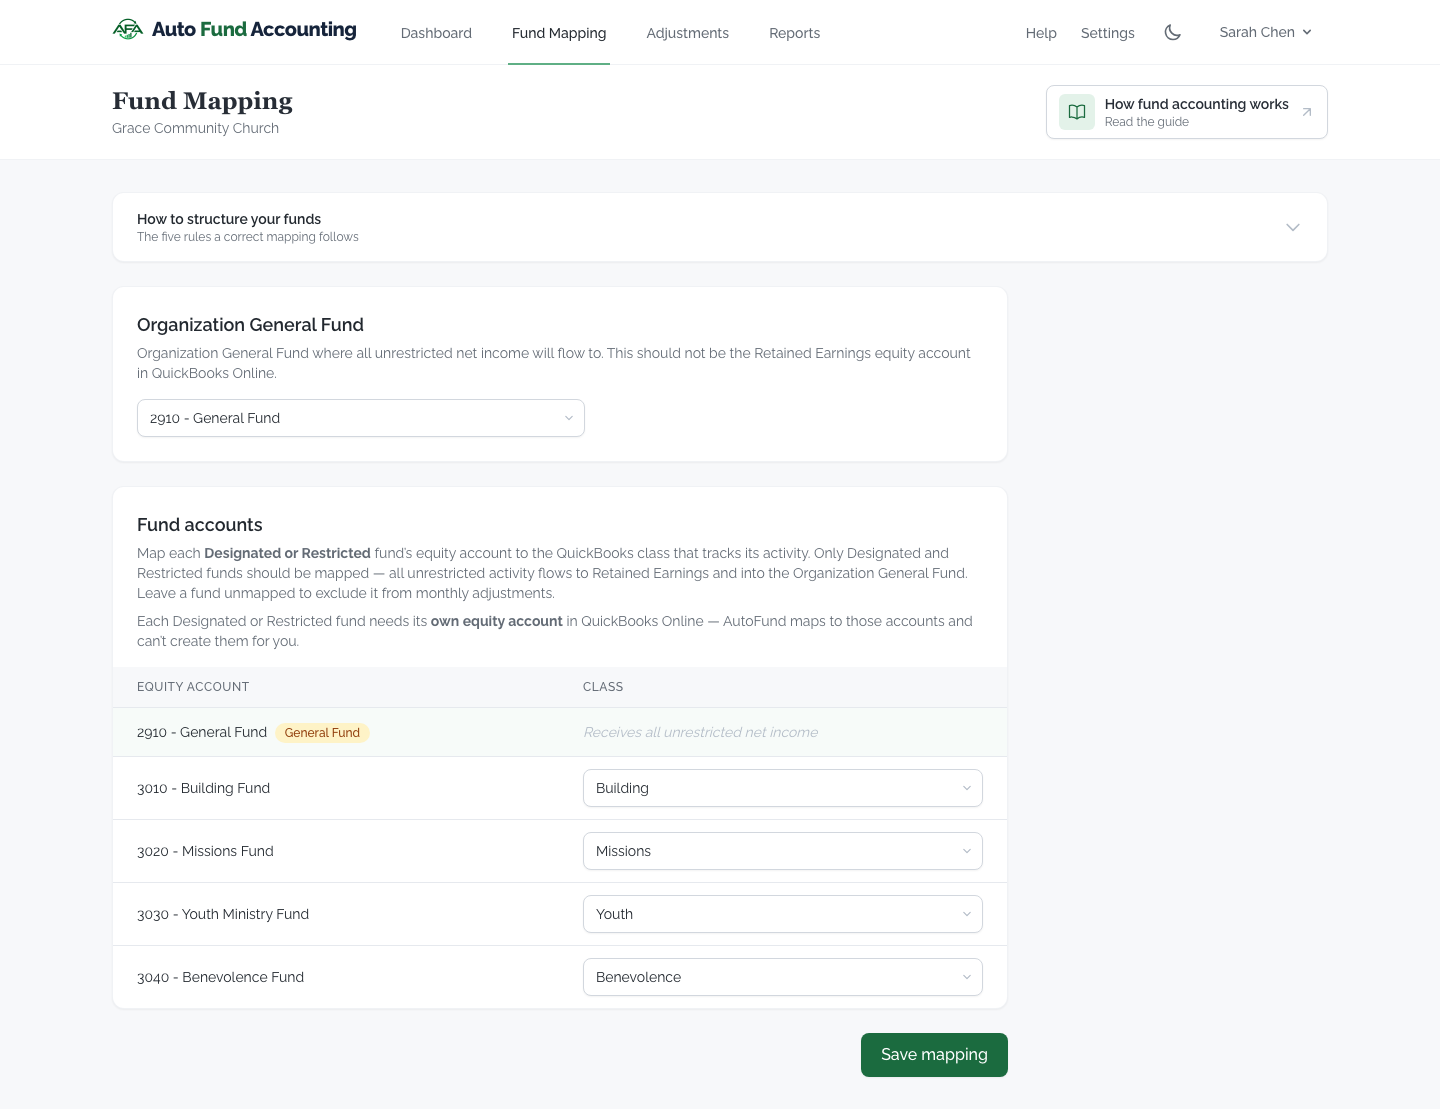
Match each fund's equity account to the class that tracks its activity, and choose your equalizer (general fund) account Administrator or Supervisor. This step is the same mapping editor you'll use for every later change, so it is documented once, in the user guide:
- Structuring your funds — the rules a correct mapping satisfies: which funds need a class of their own, and which must not have one.
- Editing your fund mapping — the mechanics: what the mapping needs in QuickBooks, what the equalizer is for, and what happens to a class you leave unmapped.
When the mapping saves, AutoFund is ready to build your first adjustment.
Step 4 — Automation
Decide how each month’s fund adjustment gets posted Administrator or Supervisor. Two answers, both fine:
- Yes, automate it. Each month AutoFund prepares last month’s adjustment, emails you the one question it cannot answer from your books — any capital purchases or debt principal paid from restricted funds? — and posts the entry on the day of the month you choose. You also choose what happens if you haven’t replied by then: post it assuming nothing was spent, or hold it until you confirm.
- No, I’ll do it myself. Nothing is scheduled and nothing reaches your books unless you press post on the adjustments page.
Why you can’t skip this step
This is the one step with no “later”. Everything else in setup produces something visible — a connection, a mapping, an adjustment you approve — so leaving it undone is obvious. An unanswered automation question is not: the underlying setting is simply off, which looks exactly like a deliberate “no”. A customer who assumed AutoFund was posting for them would find out a month later, from their books.
So AutoFund records the fact that you answered, not just what you answered, and setup cannot finish until you have. Declining completes the step just as fully as accepting — there is no penalty for “no”, and there is no pre-ticked box choosing for you.
If automation isn’t offered for your connection
Some ways of connecting to QuickBooks cannot run a scheduled post at all: the entry only reaches your books when your own computer next syncs, so a “post on day 10” promise could not be kept. If yours is one of those, you will still see this step — it just says so instead of offering a schedule, and it does not block you. The step marks itself done and you carry straight on, posting each month yourself from the adjustments page. Which connections can automate is on the compatibility page.
The full monthly rhythm — the ask email, the reminder, what the two no-response policies do, and what happens if a month can’t be posted — is documented in the Automation chapter of the user guide.
Step 5 — Review & finish
AutoFund builds last month's adjustment from your own Profit & Loss by Class and shows it to you, line by line, read-only. Nothing has been sent to QuickBooks at this point and nothing will be until you choose to post one. If a fund looks wrong, go back to the mapping and fix it; if it looks right, finish setup owner only and the dashboard opens.
That's setup finished
Everything after this point — reading the dashboard, editing your mapping, reviewing and posting each month's adjustment, reports, automation, billing — is in the user guide. You won't need this chapter again unless you set up another organization.